> ## Documentation Index
> Fetch the complete documentation index at: https://autorender.io/docs/llms.txt
> Use this file to discover all available pages before exploring further.
# Sharpen
> Enhance edges and detail so images look crisper with the e_sharpen token.
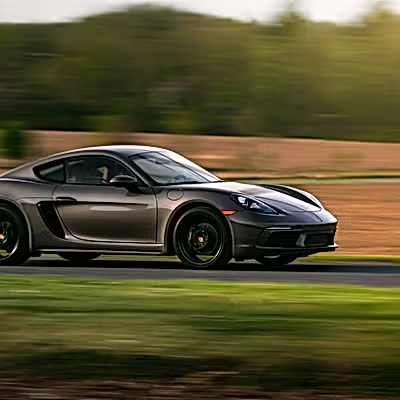
Sharpen boosts edge definition to make an image look crisper and more detailed. Use it on product shots and any image that needs to read sharply at delivery size.
Add the `e_sharpen` token to the transform segment of any delivery URL:
```bash theme={null}
https://assets.autorender.io/LOKVTtKVGb/e_sharpen/docs/example/porsche.jpg
```
 ## How does it work?
`e_sharpen` on its own applies the default strength of **100**. To set your own, use `e_sharpen:{strength}` with a value from **1 to 2000** — higher values sharpen more aggressively.
```bash theme={null}
https://assets.autorender.io/LOKVTtKVGb/e_sharpen:150/docs/example/porsche.jpg
```
## How does it work?
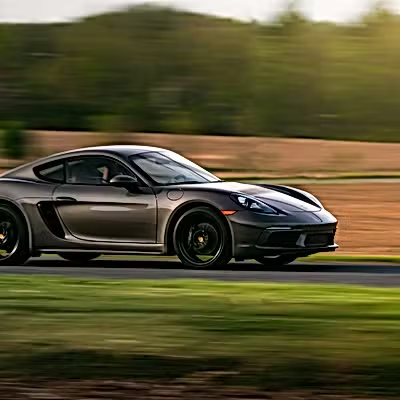
`e_sharpen` on its own applies the default strength of **100**. To set your own, use `e_sharpen:{strength}` with a value from **1 to 2000** — higher values sharpen more aggressively.
```bash theme={null}
https://assets.autorender.io/LOKVTtKVGb/e_sharpen:150/docs/example/porsche.jpg
```
 For finer control over how detail is enhanced, use `e_unsharp_mask`, which accepts the same **1 to 2000** range.
## When to use it
* Make product photos look crisp and detailed.
* Define facial features in portraits.
* Bring out texture and detail in landscapes.
* Recover clarity in images that have been downscaled.
## How do you combine it with other effects?
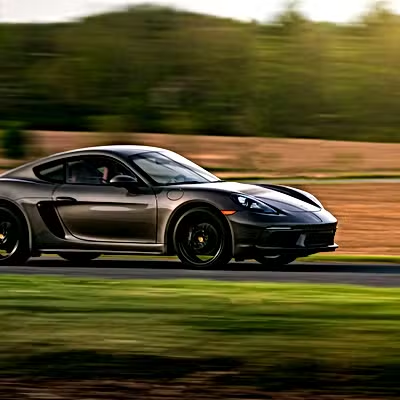
Chain sharpen with structure and contrast in one comma-separated segment. We recommend strengths between **100 and 150**, because higher values create halos and edge artifacts (e.g. `e_sharpen:120`).
```bash theme={null}
https://assets.autorender.io/LOKVTtKVGb/e_sharpen:120,e_structure:30,e_contrast:15/docs/example/porsche.jpg
```
For finer control over how detail is enhanced, use `e_unsharp_mask`, which accepts the same **1 to 2000** range.
## When to use it
* Make product photos look crisp and detailed.
* Define facial features in portraits.
* Bring out texture and detail in landscapes.
* Recover clarity in images that have been downscaled.
## How do you combine it with other effects?
Chain sharpen with structure and contrast in one comma-separated segment. We recommend strengths between **100 and 150**, because higher values create halos and edge artifacts (e.g. `e_sharpen:120`).
```bash theme={null}
https://assets.autorender.io/LOKVTtKVGb/e_sharpen:120,e_structure:30,e_contrast:15/docs/example/porsche.jpg
```
 ## Next steps
Widen or narrow the gap between light and dark areas with `e_contrast`.
Convert to black and white with `e_grayscale`.
Browse every effect token and how they combine.
Resize before sharpening so detail lands at delivery size.
## Next steps
Widen or narrow the gap between light and dark areas with `e_contrast`.
Convert to black and white with `e_grayscale`.
Browse every effect token and how they combine.
Resize before sharpening so detail lands at delivery size.