

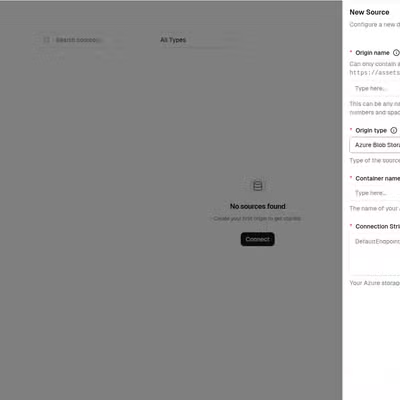
Add your source to Autorender
In the dashboard, open Sources, click Connect, and choose Azure Blob Storage. See Connect a source for the full walkthrough. Then fill in the fields below.Field mapping
Each field on the Autorender form maps to a value from your Azure Portal:
The Origin Name is your own label for the source and becomes part of every delivery URL:
https://assets.autorender.io/{workspace}-{origin}/{file_path}.
Container Name is the blob container inside the account (
acme-assets), not the storage account name (acmeprod). The account name appears separately, inside the connection string as AccountName=.Where to find each value
1
Copy the container name from the Storage browser.
In your Storage Account, open Storage browser → Containers (or the Containers menu) and copy the container’s name (e.g.
acme-assets).Copy the container name, not the storage account name. The storage account holds many containers.
2
Copy a connection string from Access keys.
Go to Storage Account → Security + networking → Access keys, click Show keys, and copy the Connection string under
key1 or key2.3
Paste the connection string into Autorender.
Autorender needs read access to the blobs. A
key1/key2 connection string grants it; if you build a custom connection string with a Shared Access Signature (SAS) instead, make sure the SAS is valid and covers read on the container.The connection string is encrypted on submission and is never shown again after the source is created. Keep your own copy.
Next steps
Access your assets
Build a delivery URL for blobs in your container.
Image transformations
Resize, crop, and convert the assets you deliver.