

e_sharpen token to the transform segment of any delivery URL:

How does it work?
e_sharpen on its own applies the default strength of 100. To set your own, use e_sharpen:{strength} with a value from 1 to 2000 — higher values sharpen more aggressively.
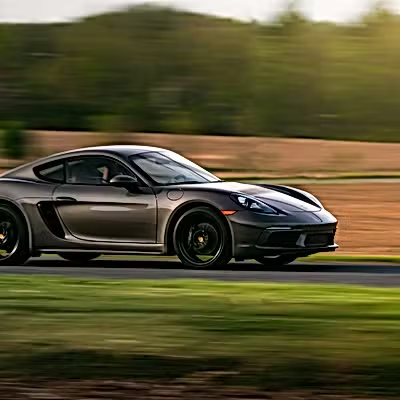 For finer control over how detail is enhanced, use
 e_unsharp_mask, which accepts the same 1 to 2000 range.
When to use it
- Make product photos look crisp and detailed.
- Define facial features in portraits.
- Bring out texture and detail in landscapes.
- Recover clarity in images that have been downscaled.
How do you combine it with other effects?
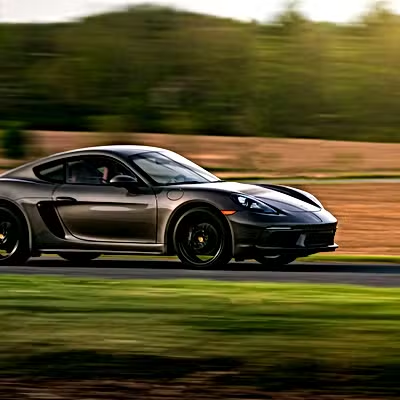
Chain sharpen with structure and contrast in one comma-separated segment. We recommend strengths between 100 and 150, because higher values create halos and edge artifacts (e.g.e_sharpen:120).
Next steps
Contrast
Widen or narrow the gap between light and dark areas with
e_contrast.Grayscale
Convert to black and white with
e_grayscale.All effects
Browse every effect token and how they combine.
Resize and aspect ratio
Resize before sharpening so detail lands at delivery size.